


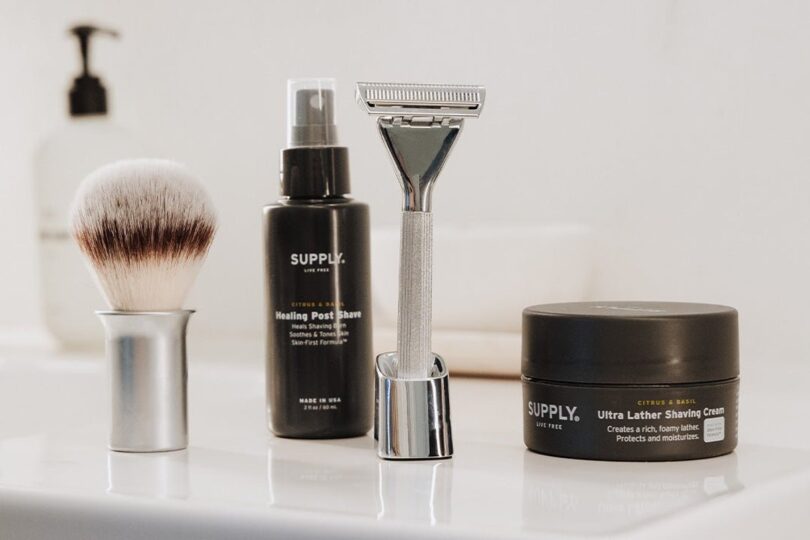
Fresh blades are easier to control than tired ones. Supply’s Black Label blades are made from Japanese steel in Seki City, and the brand says a blade typically lasts around eight to ten shaves. Treat that as a starting point, because coarse hair, frequent shaving, and technique all change the lifespan.
- Rinse the razor thoroughly after each use.
- Shake off excess water and store it somewhere ventilated.
- Replace a blade when it tugs or skips, or requires noticeably more pressure.
- Dispose of used blades safely and keep loose replacements away from the sink edge.
When you need refills, the Single Edge SE Black Label Blades are listed at $8.31. Buying the right blade for your razor matters, so check whether your handle uses the SE format or MAX cartridge before ordering. The starter sets make that simpler by including a supply of compatible blades from the outset.
A small razor stand can also improve consistency. It gives the razor a dedicated drying place and keeps the handle off a wet counter. That is a practical detail, but good routines are usually built from practical details.
Step 5: Finish with a simple post-shave reset
Rinse with cool water, pat rather than rub, and give your skin a moment before adding anything else. If you shave before work, this pause is useful: it lets you notice irritation while it is still mild. Apply post-shave care to the areas that feel tight or warm, then leave the rest of your routine uncomplicated.
- Rinse away every trace of lather.
- Pat dry with a clean towel.
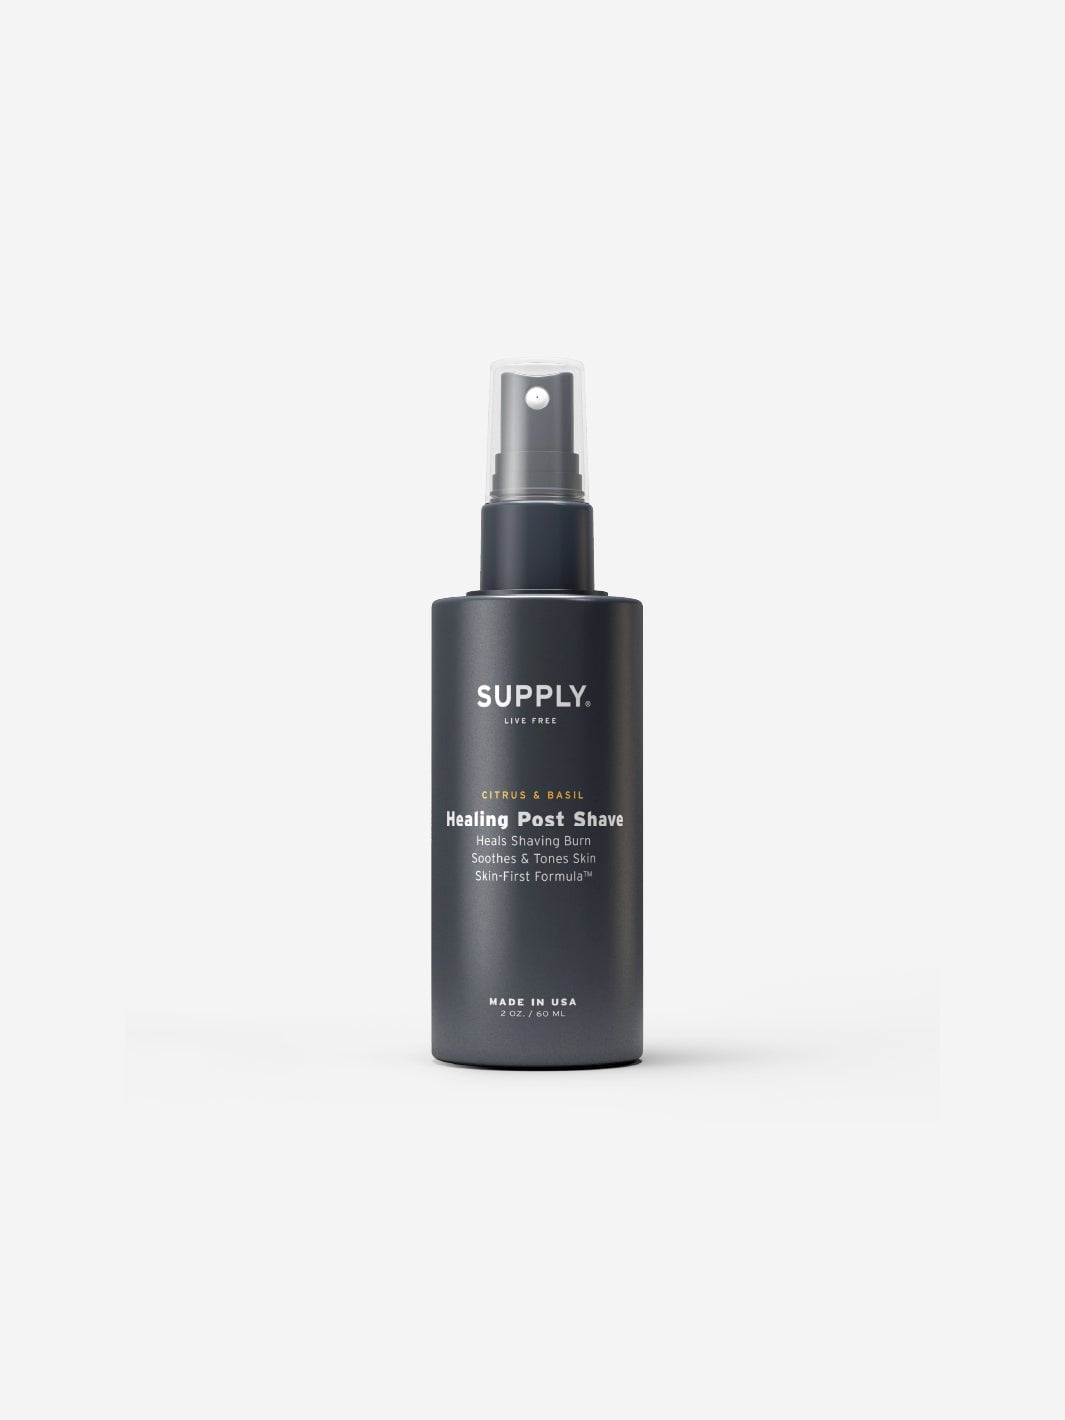
- Mist the Healing Post Shave Spray over freshly shaved skin and allow it to settle.
- Wait briefly before applying fragrance or a heavier moisturizer.
The Healing Post Shave Spray is listed at $14.55 and is an easy addition when your main concern is a comfortable finish. If you prefer a broader grooming setup, the Single Edge SE Starter Set + Free Year of Blades already includes it, so you can test the full sequence without adding separate products first.
For days when you do not want a close shave, use a trimmer instead of forcing the razor into a different job. The The Supply Trimmer is listed at $61.31 and gives you a dedicated way to tidy facial hair between full shaves. Keeping those jobs separate can reduce unnecessary passes and make your skin feel more predictable.
Choose the setup that matches your morning
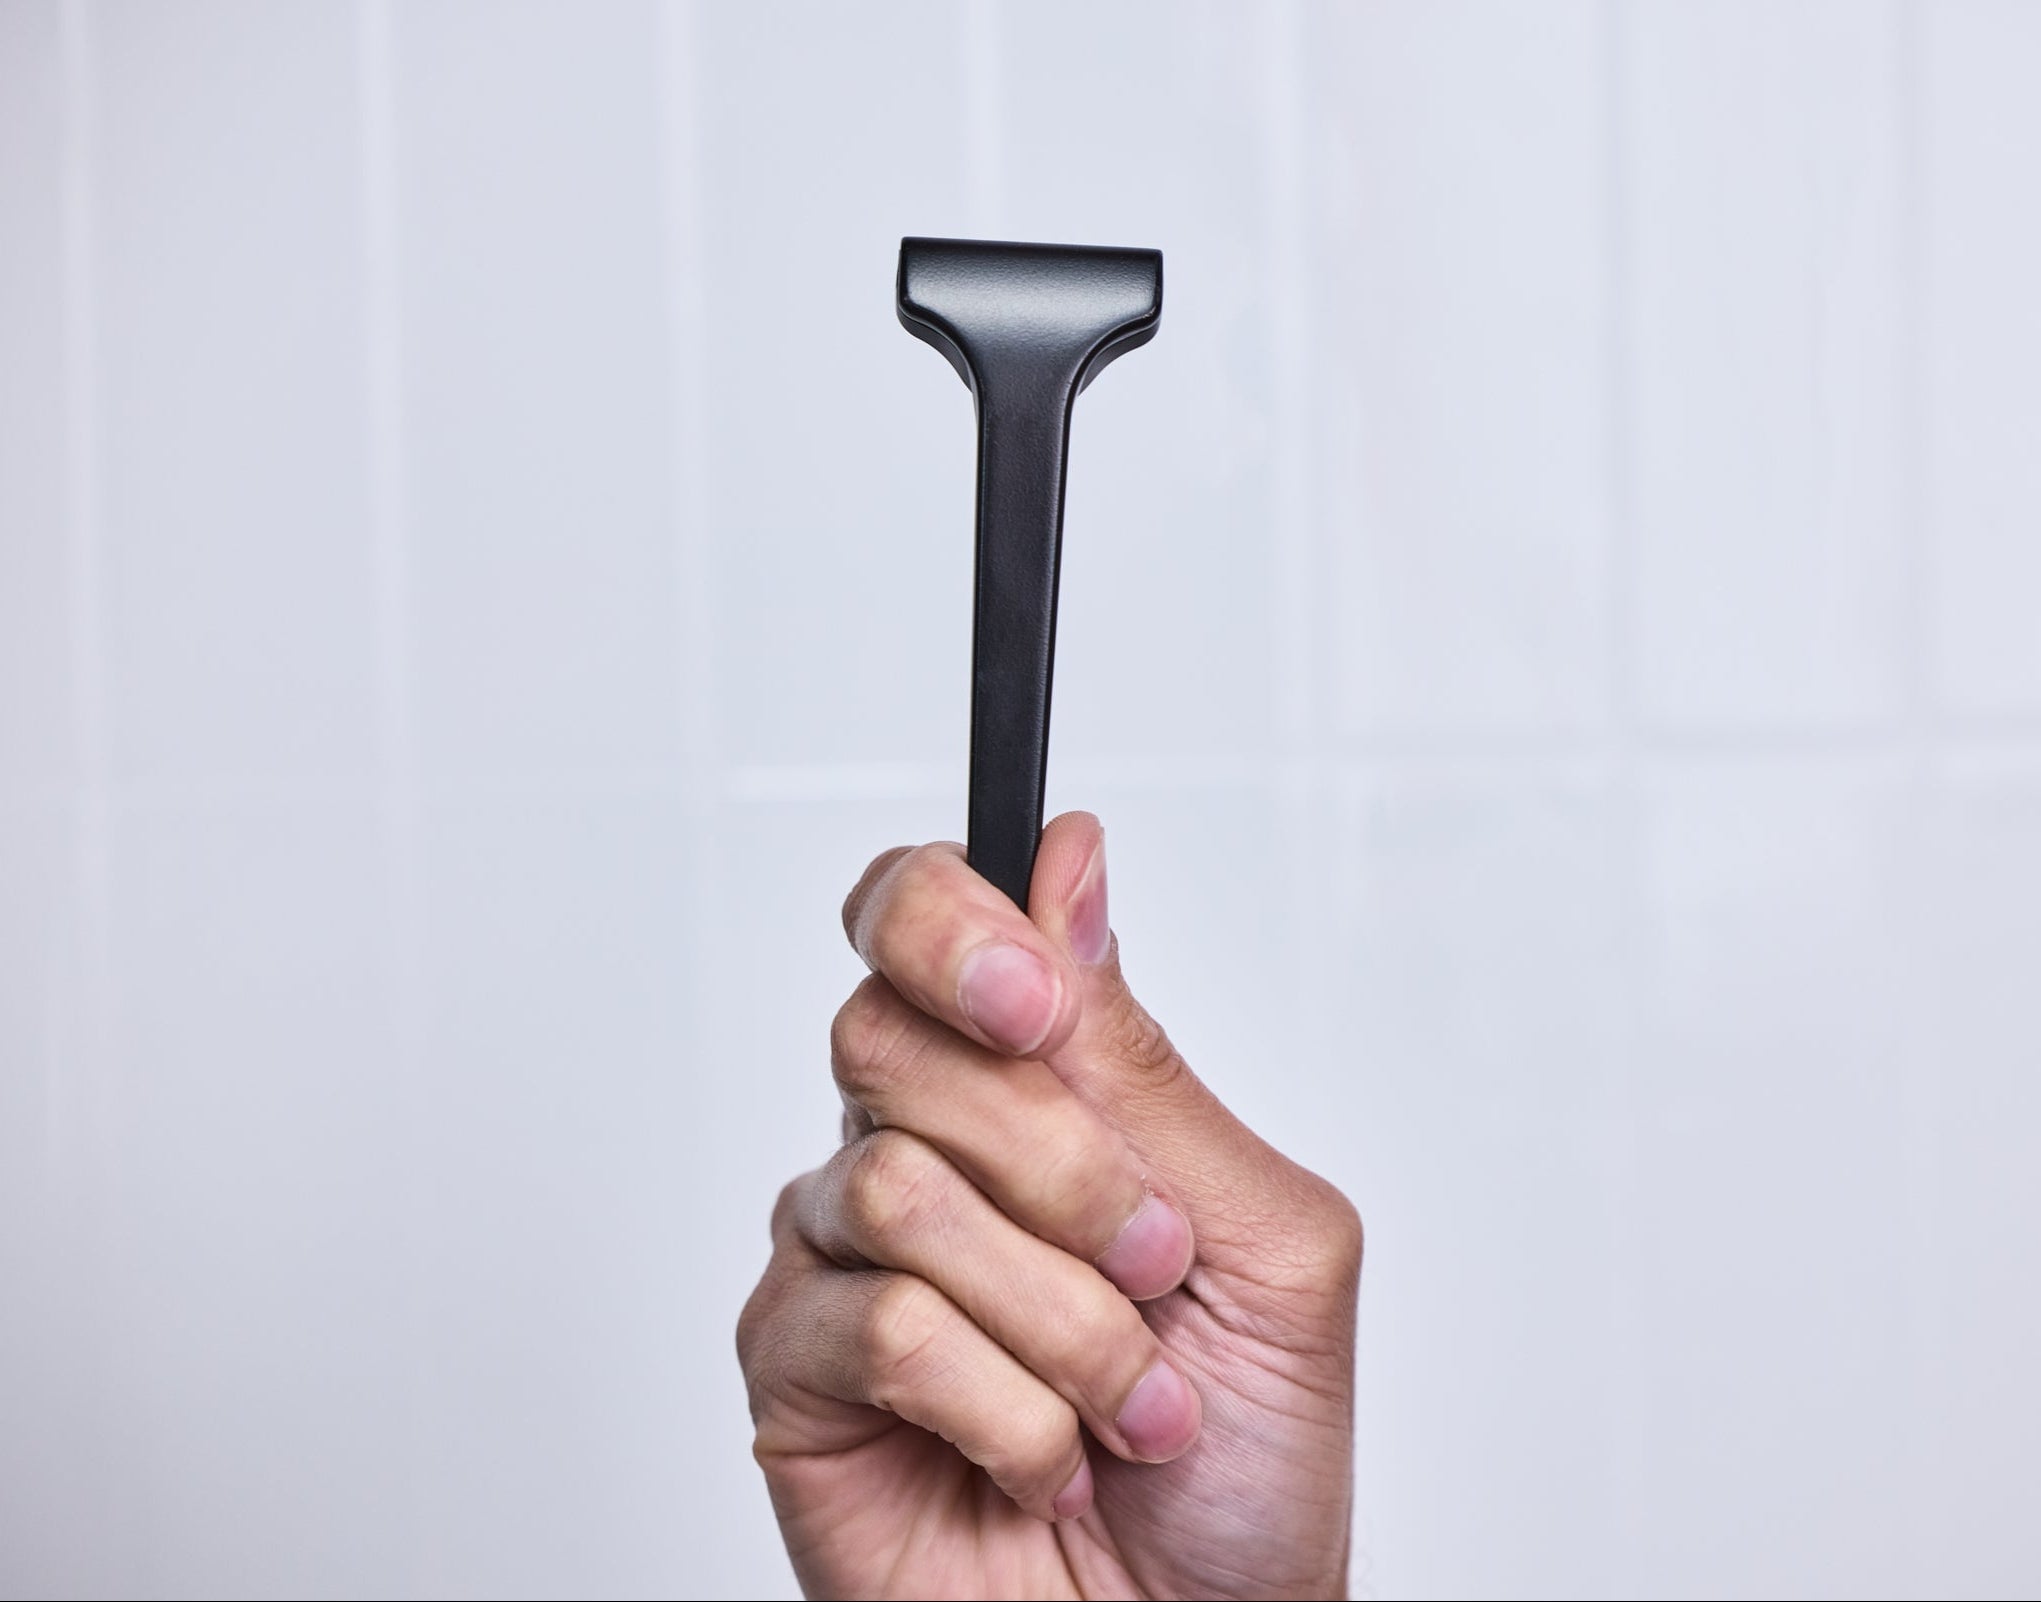
There is no prize for owning the most elaborate kit. Choose the smallest setup that supports the way you actually groom. A beginner who wants fewer decisions will be happiest with the SE starter set. An experienced shaver who values closeness may prefer the MAX. Someone who alternates between stubble and a clean shave may want a razor and the trimmer together.
| Product | Best for | |
|---|---|---|
| Single Edge SE Starter Set + Free Year of Blades | Learning single-edge shaving | See price |
| Single Edge MAX Starter Set + Free Year of Blades | Experienced shavers wanting closeness | See price |
| The Supply Trimmer | Quick stubble maintenance | See price |
| Ultra Lather Shaving Cream | Building a smoother prep step | See price |
Whichever route you choose, give the process a fair trial: prepare thoroughly, shave with the grain, reduce pressure, change blades before they drag, and finish gently. That is the whole advantage of a focused routine. Every part has a job, and Supply keeps those parts in one coherent range.
Preparation is where many shaving problems begin. Dry whiskers resist the blade, and rushed preparation encourages you to compensate with pressure. Give your face a few minutes of warm water, then create a wet, stable cushion that stays wet while you work. You are trying to soften the hair and help the blade move, not scrub your skin into submission.
- Rinse with warm water and leave the skin damp.
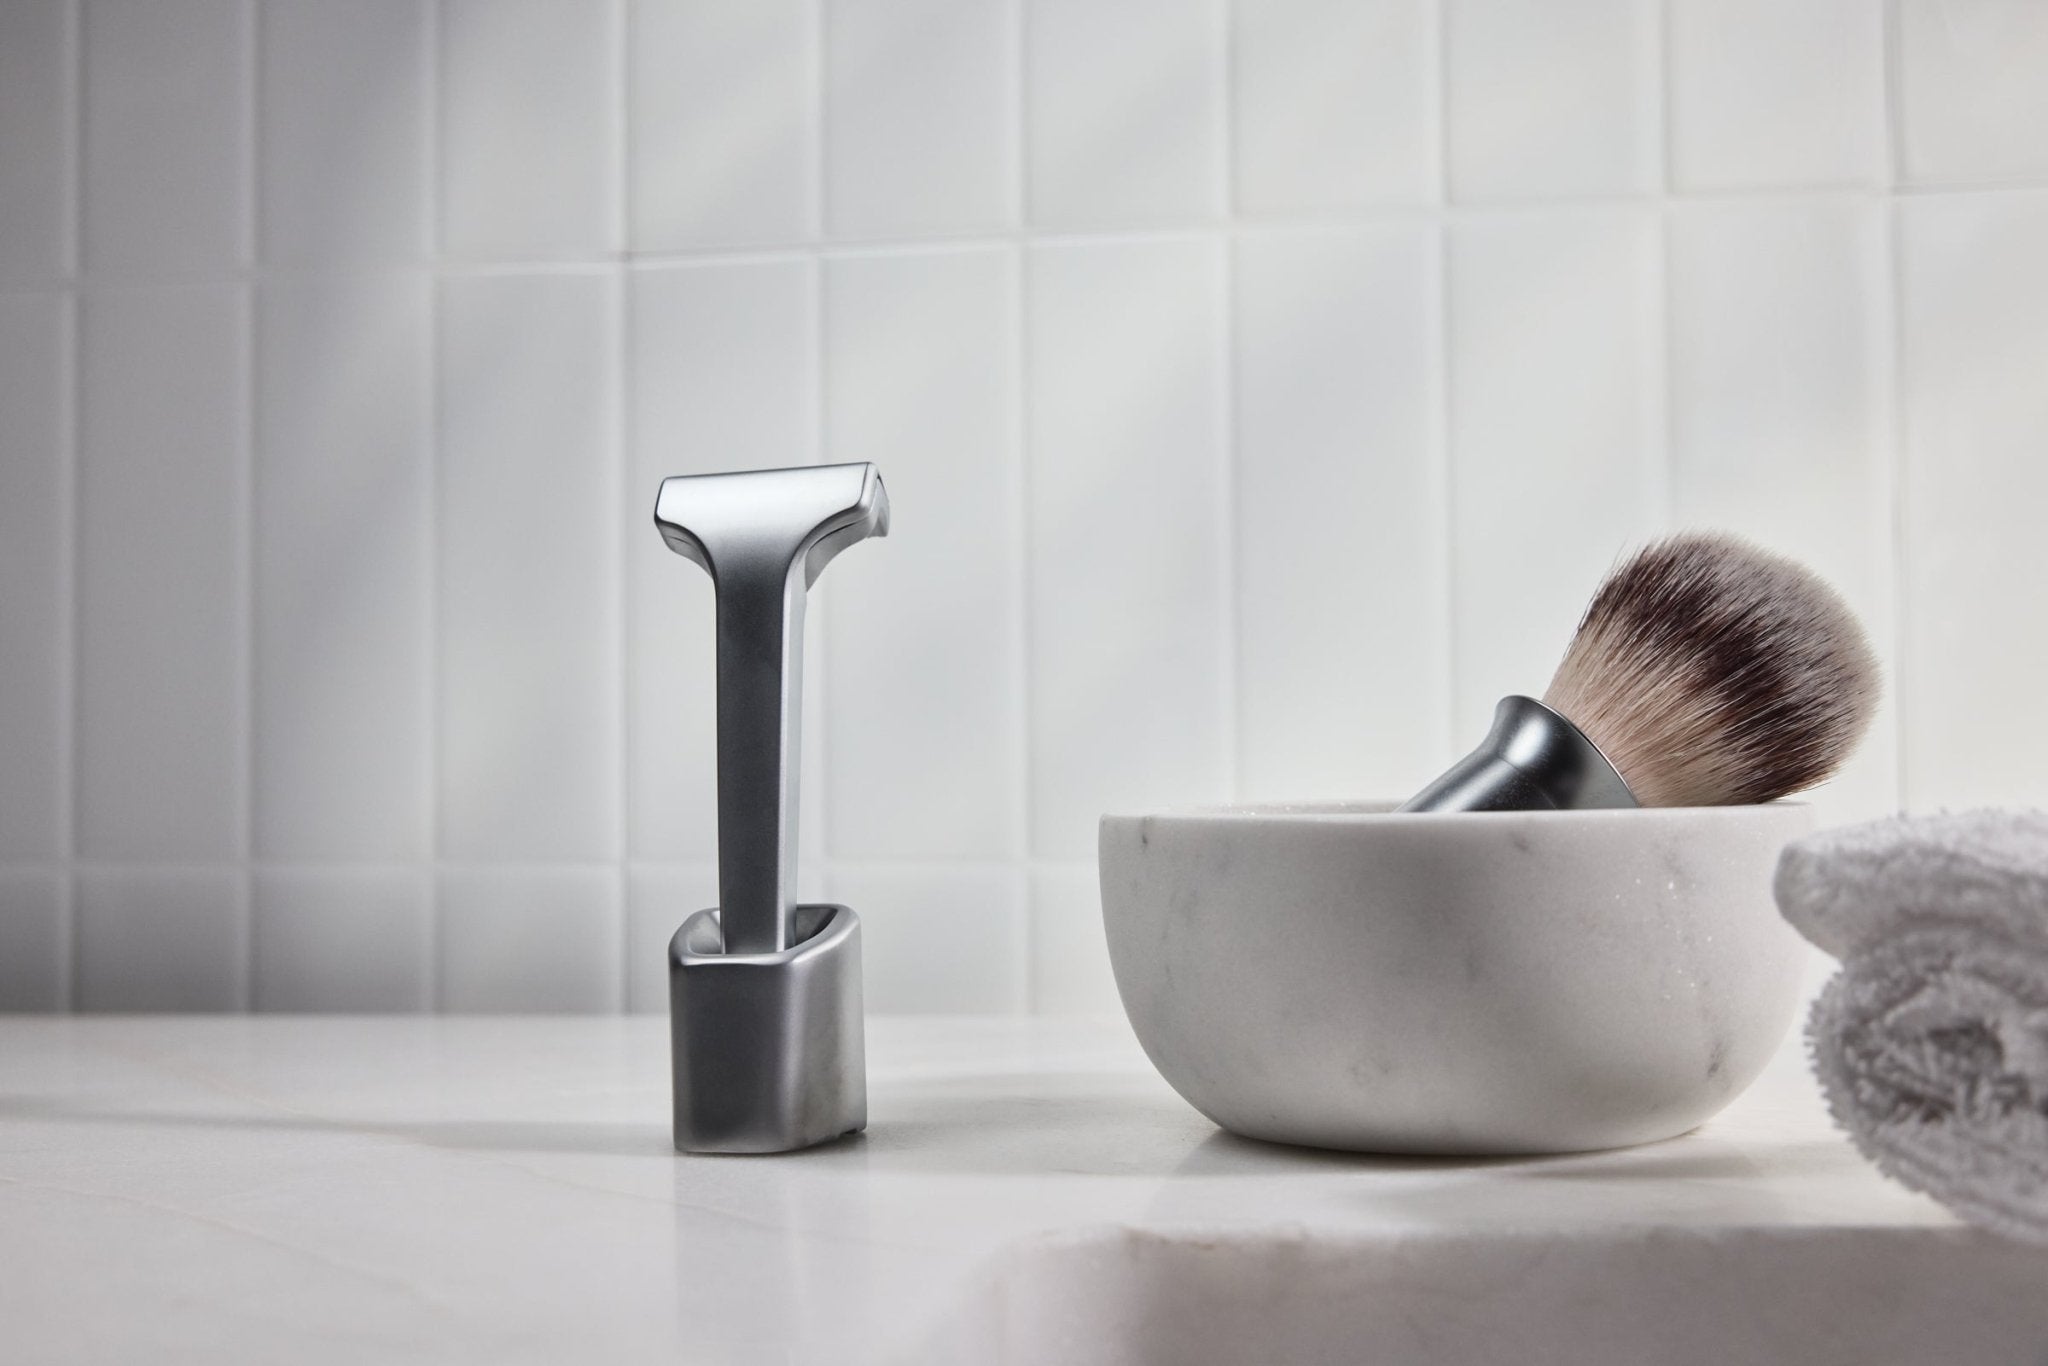
- Work the Ultra Lather Shaving Cream into a generous, wet lather. The formula is made to give the blade a smooth path.
- Use the Silvertip Synthetic Shaving Brush if you like a more even application and a lifted feel through the stubble.
- Apply the lather in a thin, complete layer. Do not let it dry before you begin.
The cream is listed at $18.70, while the brush is listed at $25.98. You do not need both to begin, but pairing them makes the ritual more controlled. A shaving brush also helps you see where you have applied product, which is useful when learning to shave in short sections.
Keep a towel nearby and rinse the razor regularly. The goal is a clear edge, not a thick mixture of lather and clipped hair collecting around the blade. If the lather thins or the skin begins to feel dry, stop and refresh it before continuing.
Step 3: Learn the low-pressure single-edge motion
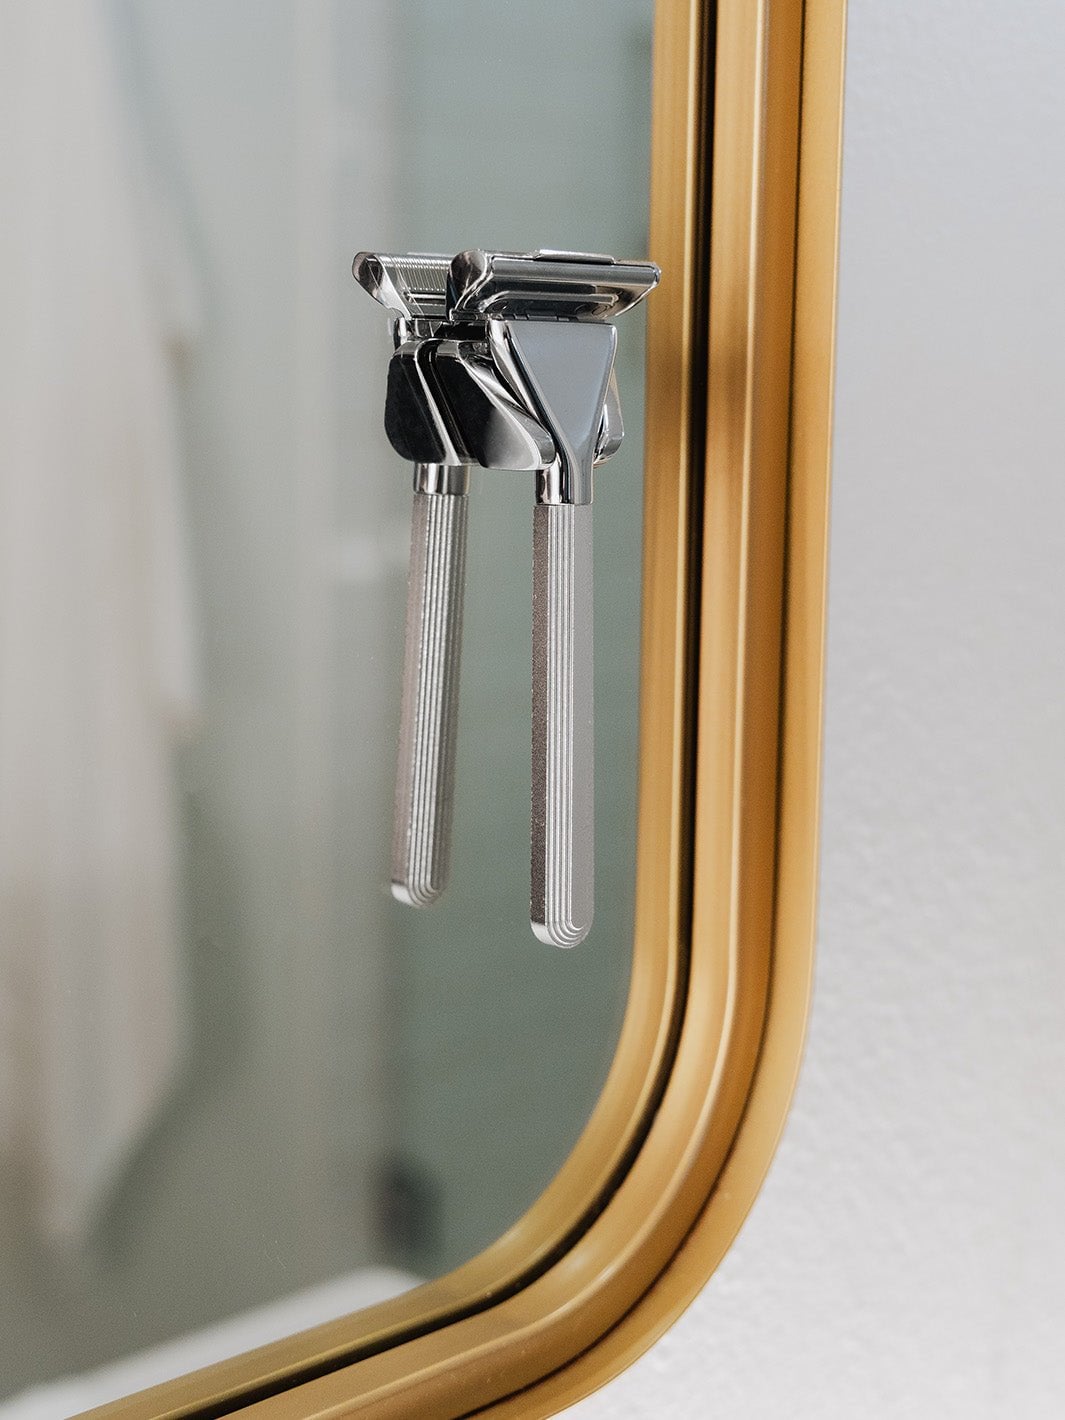
Hold the razor lightly and let its weight do the work. Start with the cheeks, where the surface is easier to read, and use short strokes with the grain. Keep the head at the angle recommended for your model, then adjust in tiny amounts rather than rolling the handle dramatically. A fixed head such as the SE is especially helpful here because it gives you a stable reference point.
- Use short, deliberate strokes instead of long sweeps.
- Start with the grain and rinse often so you can feel the result.
- Keep pressure minimal. If the blade skips, reassess angle and lather before pressing harder.
- Stretch difficult areas gently with your free hand, especially around the jaw and neck.
- Leave against-the-grain passes for later, and only if your skin tolerates them.
The Single Edge SE Starter Set + Free Year of Blades is built around this learning curve: a fixed angle, a solid metal handle, and a setup that is easy to rinse and reset. Give yourself several sessions before judging the razor. The first shave teaches you where your grain changes; the next few teach you how little pressure you really need.
Once the motion feels familiar, the Single Edge MAX Starter Set + Free Year of Blades can make sense for a closer result. Its pivoting head tracks contours, but it still expects you to keep a light hand. Think of it as a precision tool, not permission to speed up.
Step 4: Make blade care part of the routine
Fresh blades are easier to control than tired ones. Supply’s Black Label blades are made from Japanese steel in Seki City, and the brand says a blade typically lasts around eight to ten shaves. Treat that as a starting point, because coarse hair, frequent shaving, and technique all change the lifespan.
- Rinse the razor thoroughly after each use.
- Shake off excess water and store it somewhere ventilated.
- Replace a blade when it tugs or skips, or requires noticeably more pressure.
- Dispose of used blades safely and keep loose replacements away from the sink edge.
When you need refills, the Single Edge SE Black Label Blades are listed at $8.31. Buying the right blade for your razor matters, so check whether your handle uses the SE format or MAX cartridge before ordering. The starter sets make that simpler by including a supply of compatible blades from the outset.
A small razor stand can also improve consistency. It gives the razor a dedicated drying place and keeps the handle off a wet counter. That is a practical detail, but good routines are usually built from practical details.
Step 5: Finish with a simple post-shave reset
Rinse with cool water, pat rather than rub, and give your skin a moment before adding anything else. If you shave before work, this pause is useful: it lets you notice irritation while it is still mild. Apply post-shave care to the areas that feel tight or warm, then leave the rest of your routine uncomplicated.
- Rinse away every trace of lather.
- Pat dry with a clean towel.
- Mist the Healing Post Shave Spray over freshly shaved skin and allow it to settle.
- Wait briefly before applying fragrance or a heavier moisturizer.
The Healing Post Shave Spray is listed at $14.55 and is an easy addition when your main concern is a comfortable finish. If you prefer a broader grooming setup, the Single Edge SE Starter Set + Free Year of Blades already includes it, so you can test the full sequence without adding separate products first.
For days when you do not want a close shave, use a trimmer instead of forcing the razor into a different job. The The Supply Trimmer is listed at $61.31 and gives you a dedicated way to tidy facial hair between full shaves. Keeping those jobs separate can reduce unnecessary passes and make your skin feel more predictable.
Choose the setup that matches your morning
There is no prize for owning the most elaborate kit. Choose the smallest setup that supports the way you actually groom. A beginner who wants fewer decisions will be happiest with the SE starter set. An experienced shaver who values closeness may prefer the MAX. Someone who alternates between stubble and a clean shave may want a razor and the trimmer together.
| Product | Best for | |
|---|---|---|
| Single Edge SE Starter Set + Free Year of Blades | Learning single-edge shaving | See price |
| Single Edge MAX Starter Set + Free Year of Blades | Experienced shavers wanting closeness | See price |
| The Supply Trimmer | Quick stubble maintenance | See price |
| Ultra Lather Shaving Cream | Building a smoother prep step | See price |
Whichever route you choose, give the process a fair trial: prepare thoroughly, shave with the grain, reduce pressure, change blades before they drag, and finish gently. That is the whole advantage of a focused routine. Every part has a job, and Supply keeps those parts in one coherent range.
A good shave is less about rushing through a familiar checklist and more about getting a few small decisions right. The angle of the blade, the amount of pressure, the quality of your lather, and what you do afterward all change how your skin feels by lunchtime. If cartridges leave you dealing with bumps, tugging, or a sink full of plastic, a single-edge setup is worth learning.
This guide walks through the process from choosing your first tool to building a repeatable morning routine. Supply is a natural place to start because its range covers the razor, Japanese steel blades, lather, brush, post-shave care, and even a trimmer. That means you can solve the whole routine in compatible steps instead of assembling a drawer of guesses.
Step 1: Decide what kind of shave you actually want
Before choosing a finish or color, decide whether your priority is learning comfortably or getting the closest possible result. Single-edge shaving places one blade at skin level rather than sending several blades across the same area. That can mean less flex and fewer passes, but it also rewards a calmer technique.
- Choose a fixed head if you are new to single-edge shaving and want a wider margin for error.
- Choose a pivoting head if you already understand blade angle and want it to follow facial contours.
- Plan for a little more time at first. Most people find their angle within five to ten shaves.
- Keep your first goal practical: a comfortable, consistent shave is more useful than chasing maximum closeness on day one.
For a beginner-friendly starting point, the Single Edge SE Starter Set + Free Year of Blades is the clearest fit. It includes the fixed-head SE razor, eight blades, Ultra Lather Shaving Cream, a synthetic brush, Healing Post-Shave Spray, and a year of replacement blades. The listed price is $102.87, and the kit gives you enough of the routine to learn without immediately needing another order.
If you already use a safety razor confidently, compare it with the Single Edge MAX Starter Set + Free Year of Blades. The MAX uses a pivoting head and is designed for Supply’s closest shave. Its blade sits closer, so the reward is precision, while the trade-off is that careless pressure is less forgiving. For someone who knows the basics, that is a useful upgrade path rather than an intimidating first experiment.
Step 2: Set up your skin before the blade touches it
Preparation is where many shaving problems begin. Dry whiskers resist the blade, and rushed preparation encourages you to compensate with pressure. Give your face a few minutes of warm water, then create a wet, stable cushion that stays wet while you work. You are trying to soften the hair and help the blade move, not scrub your skin into submission.
- Rinse with warm water and leave the skin damp.
- Work the Ultra Lather Shaving Cream into a generous, wet lather. The formula is made to give the blade a smooth path.
- Use the Silvertip Synthetic Shaving Brush if you like a more even application and a lifted feel through the stubble.
- Apply the lather in a thin, complete layer. Do not let it dry before you begin.
The cream is listed at $18.70, while the brush is listed at $25.98. You do not need both to begin, but pairing them makes the ritual more controlled. A shaving brush also helps you see where you have applied product, which is useful when learning to shave in short sections.
Keep a towel nearby and rinse the razor regularly. The goal is a clear edge, not a thick mixture of lather and clipped hair collecting around the blade. If the lather thins or the skin begins to feel dry, stop and refresh it before continuing.
Step 3: Learn the low-pressure single-edge motion
Hold the razor lightly and let its weight do the work. Start with the cheeks, where the surface is easier to read, and use short strokes with the grain. Keep the head at the angle recommended for your model, then adjust in tiny amounts rather than rolling the handle dramatically. A fixed head such as the SE is especially helpful here because it gives you a stable reference point.
- Use short, deliberate strokes instead of long sweeps.
- Start with the grain and rinse often so you can feel the result.
- Keep pressure minimal. If the blade skips, reassess angle and lather before pressing harder.
- Stretch difficult areas gently with your free hand, especially around the jaw and neck.
- Leave against-the-grain passes for later, and only if your skin tolerates them.
The Single Edge SE Starter Set + Free Year of Blades is built around this learning curve: a fixed angle, a solid metal handle, and a setup that is easy to rinse and reset. Give yourself several sessions before judging the razor. The first shave teaches you where your grain changes; the next few teach you how little pressure you really need.
Once the motion feels familiar, the Single Edge MAX Starter Set + Free Year of Blades can make sense for a closer result. Its pivoting head tracks contours, but it still expects you to keep a light hand. Think of it as a precision tool, not permission to speed up.
Step 4: Make blade care part of the routine
Fresh blades are easier to control than tired ones. Supply’s Black Label blades are made from Japanese steel in Seki City, and the brand says a blade typically lasts around eight to ten shaves. Treat that as a starting point, because coarse hair, frequent shaving, and technique all change the lifespan.
- Rinse the razor thoroughly after each use.
- Shake off excess water and store it somewhere ventilated.
- Replace a blade when it tugs or skips, or requires noticeably more pressure.
- Dispose of used blades safely and keep loose replacements away from the sink edge.
When you need refills, the Single Edge SE Black Label Blades are listed at $8.31. Buying the right blade for your razor matters, so check whether your handle uses the SE format or MAX cartridge before ordering. The starter sets make that simpler by including a supply of compatible blades from the outset.
A small razor stand can also improve consistency. It gives the razor a dedicated drying place and keeps the handle off a wet counter. That is a practical detail, but good routines are usually built from practical details.
Step 5: Finish with a simple post-shave reset
Rinse with cool water, pat rather than rub, and give your skin a moment before adding anything else. If you shave before work, this pause is useful: it lets you notice irritation while it is still mild. Apply post-shave care to the areas that feel tight or warm, then leave the rest of your routine uncomplicated.
- Rinse away every trace of lather.
- Pat dry with a clean towel.
- Mist the Healing Post Shave Spray over freshly shaved skin and allow it to settle.
- Wait briefly before applying fragrance or a heavier moisturizer.
The Healing Post Shave Spray is listed at $14.55 and is an easy addition when your main concern is a comfortable finish. If you prefer a broader grooming setup, the Single Edge SE Starter Set + Free Year of Blades already includes it, so you can test the full sequence without adding separate products first.
For days when you do not want a close shave, use a trimmer instead of forcing the razor into a different job. The The Supply Trimmer is listed at $61.31 and gives you a dedicated way to tidy facial hair between full shaves. Keeping those jobs separate can reduce unnecessary passes and make your skin feel more predictable.
Choose the setup that matches your morning
There is no prize for owning the most elaborate kit. Choose the smallest setup that supports the way you actually groom. A beginner who wants fewer decisions will be happiest with the SE starter set. An experienced shaver who values closeness may prefer the MAX. Someone who alternates between stubble and a clean shave may want a razor and the trimmer together.
| Product | Best for | |
|---|---|---|
| Single Edge SE Starter Set + Free Year of Blades | Learning single-edge shaving | See price |
| Single Edge MAX Starter Set + Free Year of Blades | Experienced shavers wanting closeness | See price |
| The Supply Trimmer | Quick stubble maintenance | See price |
| Ultra Lather Shaving Cream | Building a smoother prep step | See price |
Whichever route you choose, give the process a fair trial: prepare thoroughly, shave with the grain, reduce pressure, change blades before they drag, and finish gently. That is the whole advantage of a focused routine. Every part has a job, and Supply keeps those parts in one coherent range.


Leave a Comment